
I’m usually very much a fabric first, pattern later kind of girl. Sometimes I’ll have a rough idea of what type of garment a fabric will be destined for, but it’s rare that I see a pattern first, then look for fabric to make it in. This dress was one of those rare occasions.
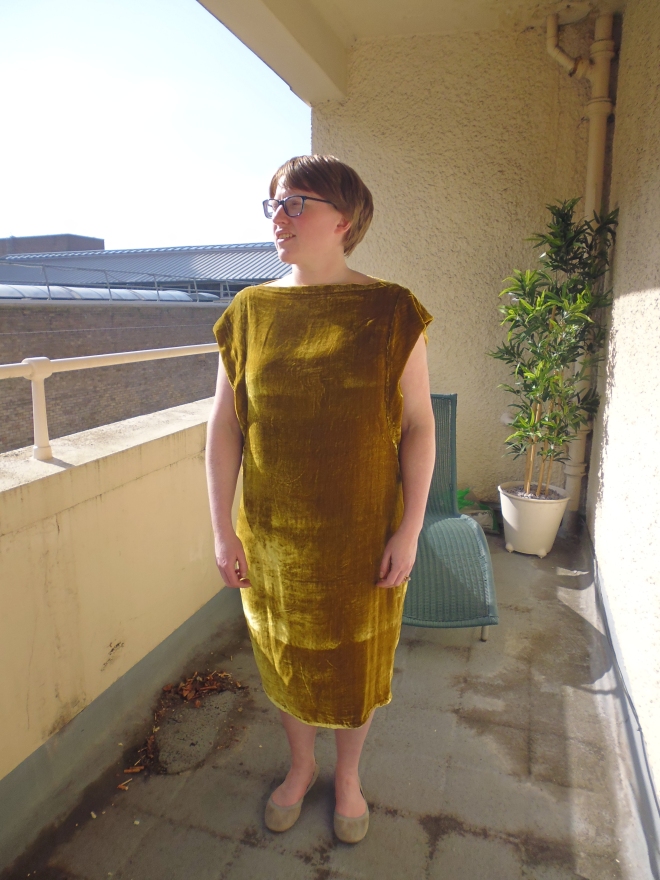
This is #109A, Scoop Sleeved Dress, from the September 2013 issue of Burdastyle magazine. The sample shown is made up in a patterned silk velvet, and I fell in love. The relaxed fit, the little cap sleeves, the interesting sleeve structure, and of course the fabric are all right up my street. This dress is the reason I went hunting online for silk velvet last year, eventually finding some at Les Coupons de Saint Pierre for an incredibly reasonable €45 for 3 metres. It’s the fabric I used for the Incredible Levitating Top, which was meant as a trial run for working with this slightly tricksy fabric.
In the end the fabric wasn’t too difficult to work with. It is quite fray-y, so I overlocked the edges of all the pieces after cutting them out – I um-ed and ah-ed for a while about doing this, it felt a bit like sacrilege to take a clumsy overlocker to such a beautiful fabric, but I think it was the right decision in the end. It definitely made the various bits of handstitching much easier – I practised on a spare bit before doing the overlocking and the fraying made things quite difficult. Cutting out was less troublesome than I had anticipated, I used my rotary cutter rather than shears, and cut each piece flat rather than on the fold. When it came to construction, I realised I hadn’t necessarily been as accurate as I might have been, there was a little bit of excess fabric at the end of the sleeves, but I was able just to chop the excess off with no issues. That wasn’t all down to the fabric though, precision is not my strong point with any fabric…..
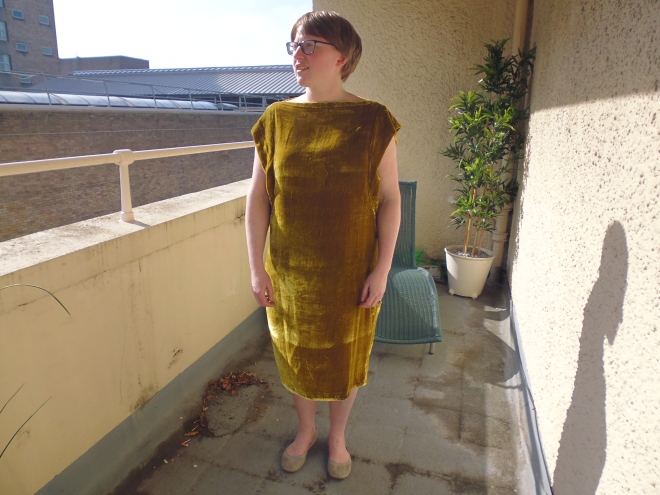
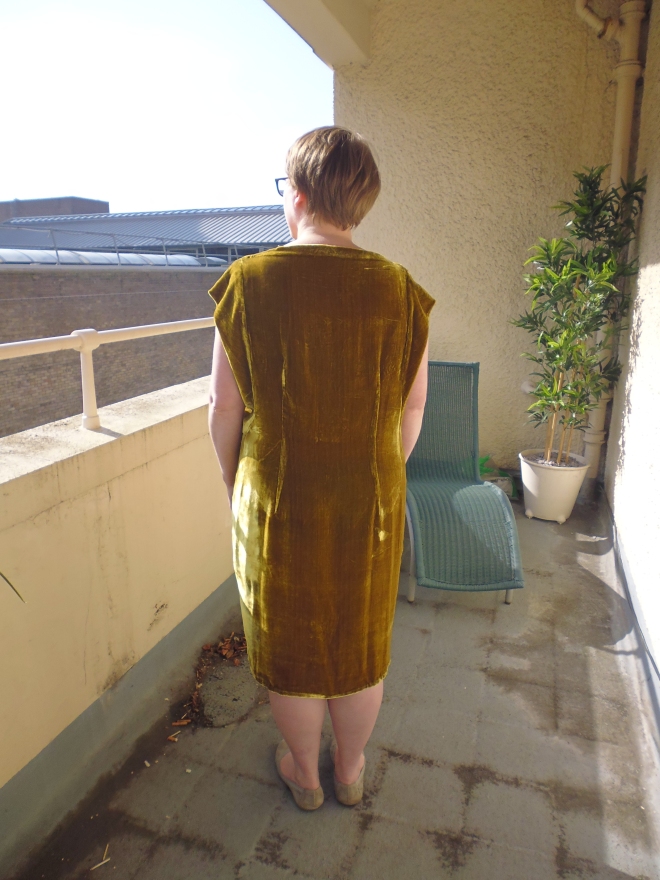
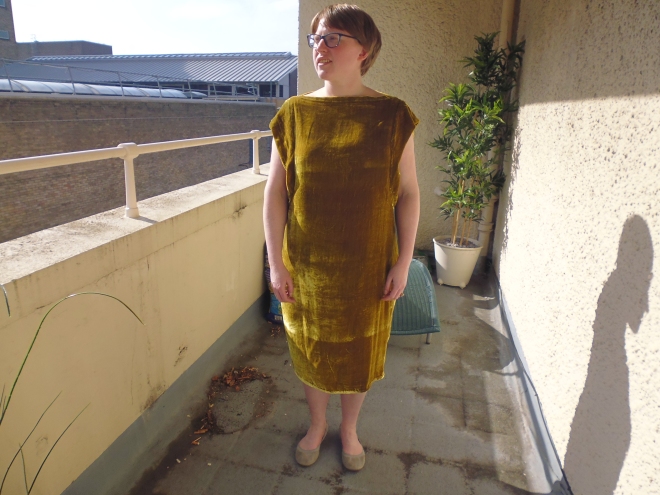
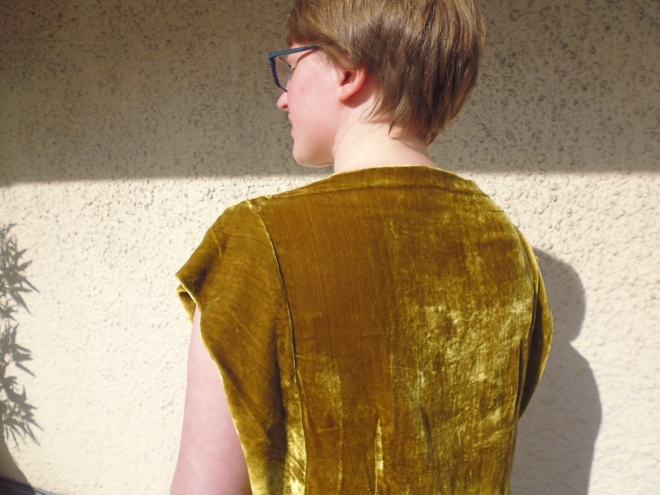
The simple shaping of this dress also helped with the tricky fabric – there are two darts at the back and that’s it, no zips or buttons either. I cut a size 44, the largest size available, but really needed more like a 46-48 at the hips. With no bigger size to grade to, I simply added 2cm to the side seams at hip level and drew a gentle curve from the waist out to my new hip line, and back in again at the hem to preserve that lovely shape. This highly scientific adjustment worked a treat and I’m really pleased with the fit. It’s meant to have quite a bit of positive ease – after all there is no zip, it just pulls on over the head – and in this fabric it just skims over the body with a lovely drape.
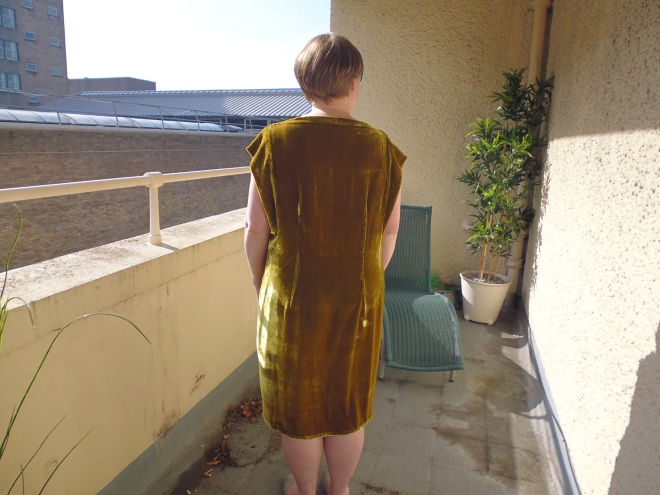
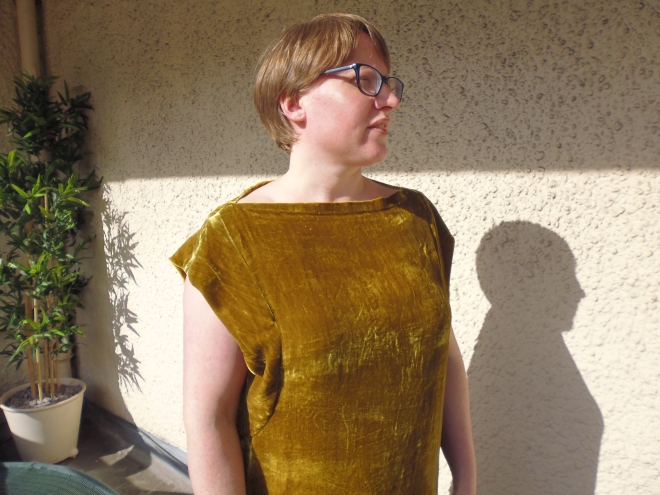
The neckline, whilst relatively high, is wide enough for me not to feel strangled and I love the way it looks.
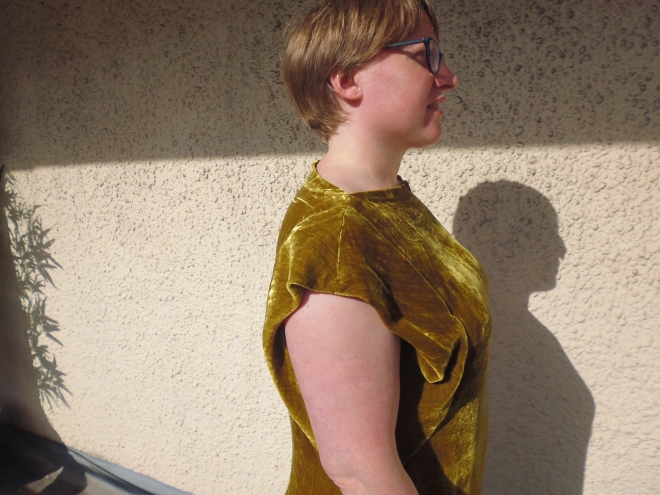
The neckline and hem are both handsewn, along with the inside of the sleeve. You can see how deep the armhole is – the sleeve is very cleverly constructed though so there are no bra issues, as you can see in this super-elegant shot of my armpit….
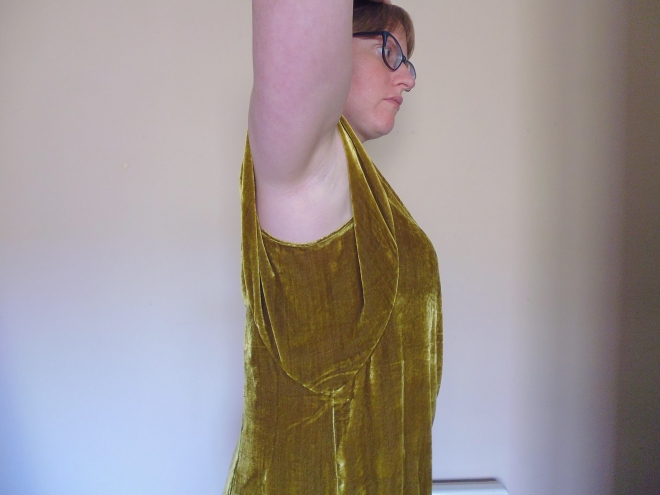
So clever. Luckily this pattern was one of those for which Burda helpfully provide a ‘sewing course’ – ie some slightly more detailed instructions. This made working out the sleeve construction much easier than I’d feared. In general the rest of this was very simple to put together, and even with the bits of hand sewing only took me a few evenings to complete.
I absolutely adore this dress, although I’m not quite sure when I’ll wear it. Every office Christmas party for the next 10 years?
